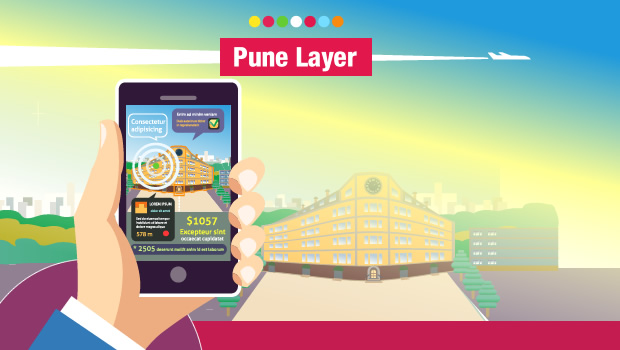
We believe Layar, the AR browser can have a significant role to play in mobile learning. We have been playing with Layar for a some weeks now and yesterday we released a layer for Pune city. This is our first public layer which would be useful for the public as well as (hopefully) provide us valuable feedback about Layar development.
Below I share my development experience of creating the Pune Layar.
Prerequisites:
- Layar developer account: In couple of days you will get approval from Layar team.
- A Gmail account
- Server with public IP/domain where you will store actual layer content. The server can be shared one or completely owned by you.
- Mobile device having Layar browser support. Currently Android 1.5+ and IPhone 3GS supports it.
- Familiarity with Basic layar functioning.
- And some development experience in JSON programming
Development:
The development occurs at two ends:
At Layer site:
- Fill the necessary information
- Here you will need to provide URL of server where the actual contents reside.
- Difference between Name and Title field:
- Title appears in actual layer on mobile device
- Name is for reference purpose and doesn’t appear anywhere in your layer on mobile device.
- Click on save button.
- Click on edit button. In edit mode there are different tabs like:
- AR view: Here you can set color scheme for your layer
- POI Icons: Here you can upload icons for you POIs. POI can have four different icons for four states.
- Filters: Here you can define search filters for your layer. The search filter can be textbox, radio button, checkbox, or slider.
At your server:
- The layar server sends http request to URL you have provided while defining the layer in layar developer site and it expects a JSON response containing POI details. You can find more information about JSON response format.
- You can use jsp/servlets/php/.net or any server side programming language to output JSON response. It totally depends on how dynamic your data is. You can even use simple html page having static JSON response.
Note:
The sample images of Layar browser on Layar developer site depicts old Layar browser. Latest Layar 3.0 browser has different layout.
Testing:
- Layar team has provided page where you can do basic testing of your layer. You can find it under layer listing page by clicking “your layers” link at top. The basic testing includes:
- Receiving request from layar site.
- Validating the JSON response.
- Validating POI with images and information.
- Once you are done with it, the actual testing will happen on your device.
- Once installed, launched it and under settings you will need to click on “Use developer settings”. Get the required developer id and developer key from Layar developer site (by clicking on profile link).
- You may like to use fixed location (GPS) settings.
- The required latitude and longitude format is: Decimal Degrees like 18.497916.
- Once you are done with above steps you should see your layer appearing in featured tab in Layar browser.
Publishing:
- After testing the layer you will need to send it for approval process. Under layer listing you will find “Request publication” button.
- The approval process may take up to five working days.
- Once approved you can then publish it whenever you want, may be coinciding with some event.
That’s it. Quite simple – isn’t it?. Your layer is now available for public.


